Manage Access on Canvas
Manage Access on Canvas enables more granular permissions on canvas plans that allows you to control who can view or edit the plan and displays the individual member who is the Owner. Additionally, you can set up IP filters to restrict access to the canvas plan by specific IP addresses.
How It Works
To provide the access internally:
-
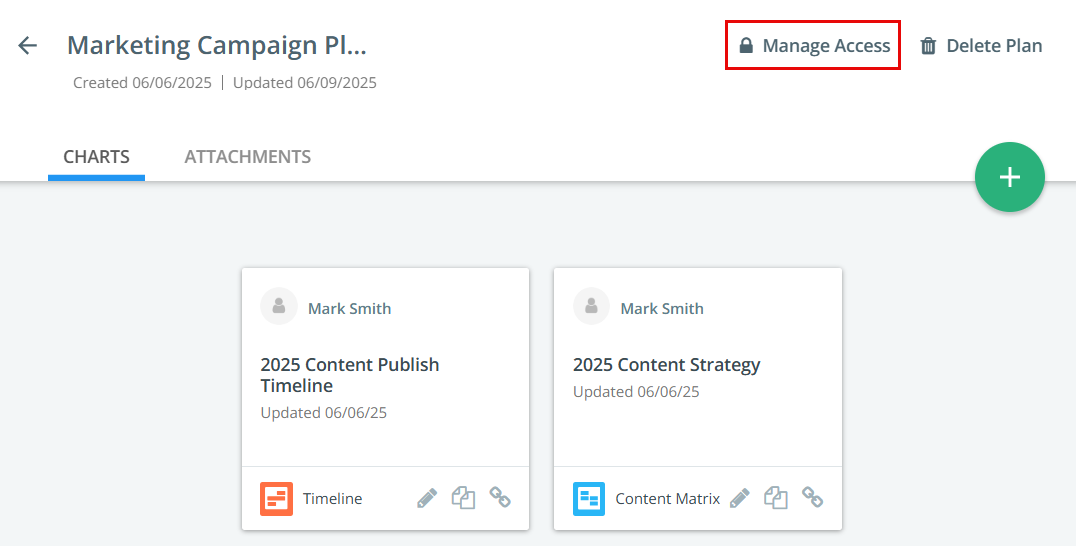
Open Canvas and select a plan you want to update the access.
-
On the top-right corner of the page, click Manage Access.
-
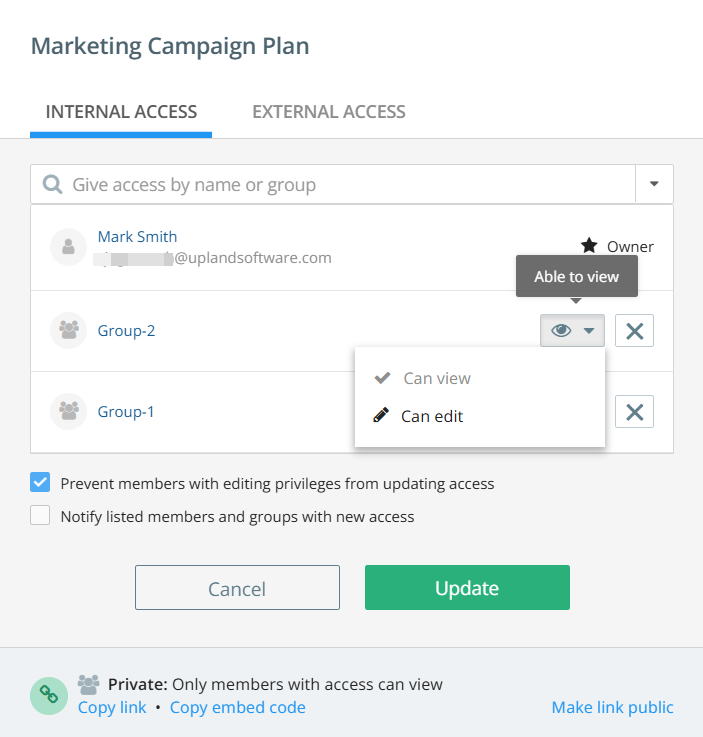
In the Internal Access tab, select the Give Access by Name or Group drop-down to select a member or a group. The selected member or group name appears in the dialog.
Tip: You can also type in the search box to find a member or a group.
-
Select the access level for a member or a group.
Note: A default access configuration is available when you open the manage access dialog. To manage the default configuration, contact your Admin.
-
Owner: Owners are the users who can delete an item and can decide who else on the team can manage access to it. Only owners can transfer ownership to other users.
Tip: If you assign another individual member as an owner, then you will no longer be the owner.
-
Edit Access : Members with edit access can create, update, and save changes.
-
View Access : Members with view access will only be able to view.
Note: If all members of the instance have Edit access, then it is not possible to restrict individual members of the instance with View access. To allow View access for individual members, you need to select Can View for all members of the instance and separately add groups or members who have Edit access.
-
-
To remove a member or group from the selected members list, click on the
 icon.
icon. After you click the
icon, the member or group name is grayed out. Click Restore to activate again. -
The owner can choose the following additional options while providing access:
-
Prevent members with editing privileges from updating access – The Owner and Admins (based on configuration) of the plan can control visibility.
-
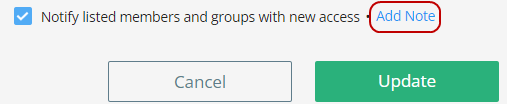
Notify listed members and groups with new access - Notify members of your Kapost instance about the changes made to their access.
-
-
If you select Notify listed members and groups with new access, you can click on Add Note to add a note or explanation for the changes.
-
Copy a link or embed code to share with users. At the bottom of the modal is the option to use a private link or make the link public.
-
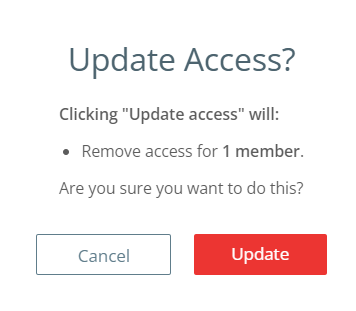
Click Update to save the changes.

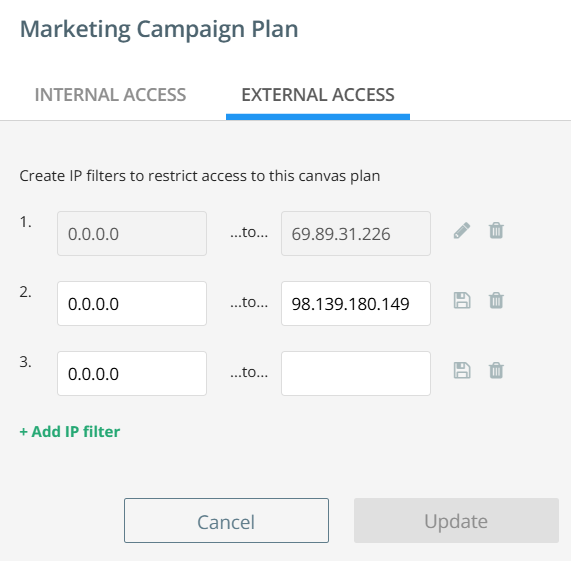
To restrict the access by IP address(es):
-
In the Manage Access modal, navigate to the External Access tab.
-
Click +Add IP filter to display the IP address input field.
Tip: Users can add multiple IP filters as needed.
-
Enter one IP address or a range of IP addresses in the empty field.
-
Click the Save icon
 to save the IP address.
-
After saving, the Edit icon
 appears next to the saved IP address.
 -
If the entered IP address is invalid, an error message is displayed to verify the IP address.
-
-
Click the Edit icon
to modify the existing IP address. -
Click the Delete icon
 to remove the IP address.
 Note: Only when all fields are filled in and saved, the Update button becomes active.
-
Click Update to save the changes.